Solar lights are not a cheap investment, which is why it will pains you to realize that they have stopped working suddenly.
Broken wires are not a new thing to solar lighting, in fact, it features on google FAQs, and the 'people also ask' section a lot. This means that number of solar users are looking for better ways to fix their broken wire problems without incurring additional expenses.
The ideal way of dealing with broken solar wires is to cut off the damaged part of the wire before soldering the joints back together. A better option will be to replace the entire wiring connection if it has surpassed its lifespan.
Another alternative would involve checking other possible fault causes, such as a loose connection at the circuit board, a non-operational switch, a worn-out battery, or a battery pin.
Do not forget the most important component, the solar panel's ability to transfer charge. You might be focused on minor wire damage, while the actual issue is the panel's inability to transfer charge.
So what could be the cause of your broken solar wires?
Perhaps you intend the solar lights to reach and light a wider locality. In an attempt to do so, internal components of the wire may have undergone a lot of pulling tension and become broken.
This will be visible at the tension joins, with signs of overstretching on the insulating material.
Take precautions by ensuring that the length of the solar light wire is long enough to reach the intended area of coverage with minimal effort.
Keeping the wire into unnecessary folds will eventually cause your wires to experience faults at those joints. Folds can also accumulate debris and dirt that will cause the wire casing to wither over time if not cleared.
Try to keep the wire straight, and just like in the case of overstretching, do not use an extremely lengthy wire for connection that will necessitate these joints.
When the solar lights fail to illuminate, there could be a possibility that one of the four pins, that is; the panel pin, battery pin, or light pin, has become loose at the board's terminal. And this can be easily identified by testing them using a multimeter, as will be discussed later in the article.
Squirrels are one of the most common causes of faulty outdoor wires. They chew on low-lying cables, and this will be evident from observation.
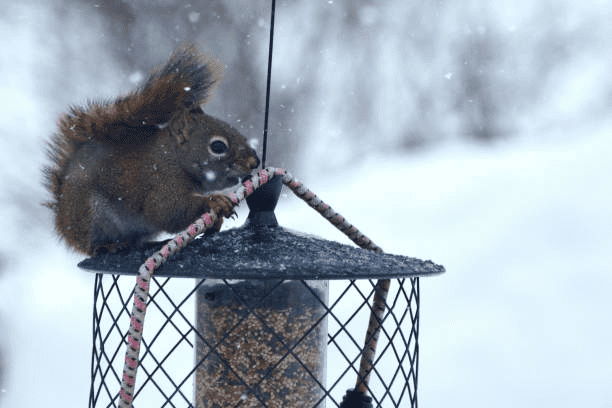
Ensure that your wires are not fixed on the ground or at an easy-to-reach level where roaming wild animals could tamper with them. Where necessary, house the wire in a protective casing that will not be an obvious target for wild animals.
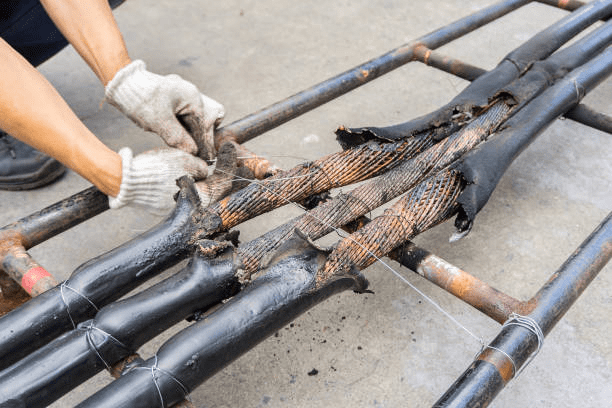
One good way of taking care of solar wires is to keep them away from harsh weather. Without proper insulation, solar wires slowly corrode and weather due to overexposure to direct sunlight or rain.
When you notice rustiness at some sections of the broken wire, it is an indication that the other sections of the wire are yet to follow suit if not well sheltered.
A better way to overcome this is by using proper weather-resistance insulation, especially for outdoor lighting.
If the wire has served its purpose for the intended period, let it go. Just like any other tool, solar wires do have a defined lifespan.
Once the lifespan is exceeded, expect frequent breakdowns and constant repairs that could easily be overcome by replacing the entire solar light wiring.
Chances that the manufacturer or supplier might have sold you a defective wire are slim but not nill. But this is a quick fix because all you need to do is to return the wire for exchange within the defect liability period.
Fixing a broken solar wire will require you to have some basic tools. Some can be improvised others are better bought for effectiveness. So here is the list of tools that will help you fix your wires.
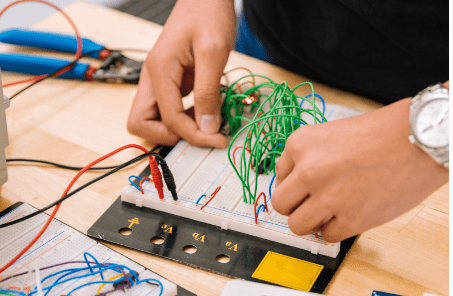
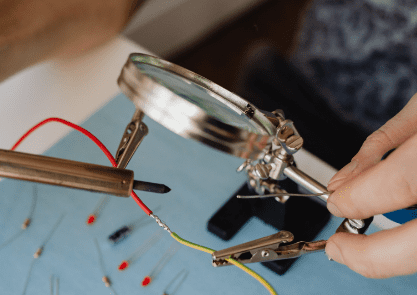
You will need a multimeter to test for current continuity or the absence of resistance in the circuit.
The multimeter has red and black wires (probes), each equipped with a metal tip at the farthest end and a banana plug on the other end. The two probes are the main testing components and the multimeter also has a display screen that helps with providing a reading for the component being measured.
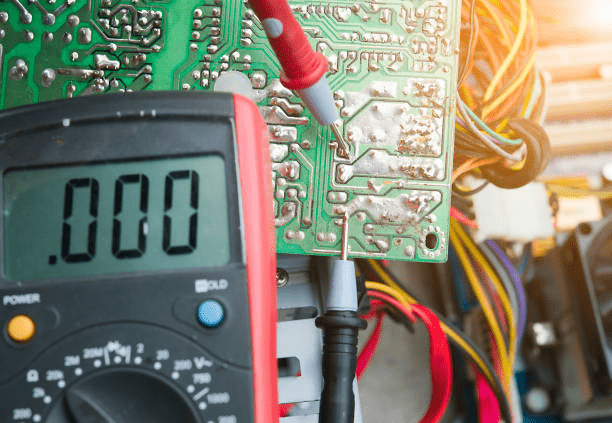
First, touch one tip of the multimeter probes to the male side of the cord. The remaining probe goes to the female side of the broken solar wire cord.
When there is current continuity, expect a beep. If there is no audible beep, the solar wire needs replacement.
In case your multimeter does not have a continuity setting, test the resistance. Point the selection knob to the resistance setting.
One tip of the multimeter probe goes to the male side of the broken wire cord while the other goes to the female just as in the case above.
To measure resistance, check the reading on the display screen. If it is 1 or OL, there is no continuity and therefore you should proceed and replace the cord.
After determining whether or not there is continuity in the broken wire, the next step will involve stripping the broken section with a wire stripper. But first, ensure that the switch is off to avoid electrocution by flowing current.
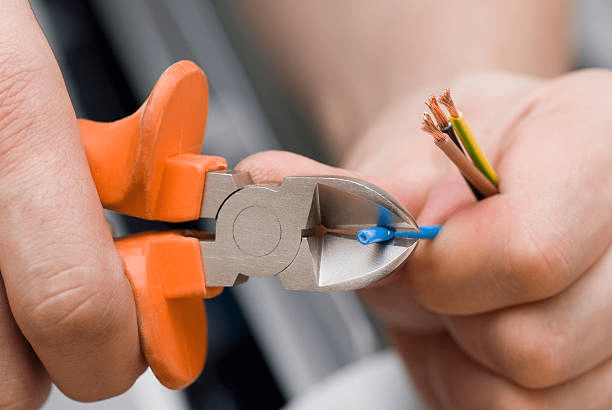
Wire strippers are designed with a center notch that enables you to cut the insulation without doing damage to the wire itself.
When using manual a manual wire stripper, apply some pressure as you rotate it around the insulation to rip open the wire.
An automatic stripper is self-adjusting and will resize to the thickness of the cable hence will not need as much effort.
Check the broken part to see if there are splits or cracks. Also, cut off the damaged parts of the wire to be able to reconnect the joints smoothly.
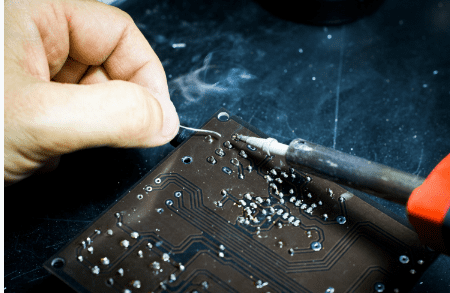
For this procedure, you will need a lead-free solder, soldering iron, silicone paste, a wet sponge, and a soldering gun.
Use a wet sponge to wipe the tip of the soldering iron before soldering. The soldering iron also needs to be connected to an electrical supply source to enable it to heat the solder at high temperatures.
Once heated, the molten solder must flow smoothly between the two broken parts of the wire to form a stable joint.
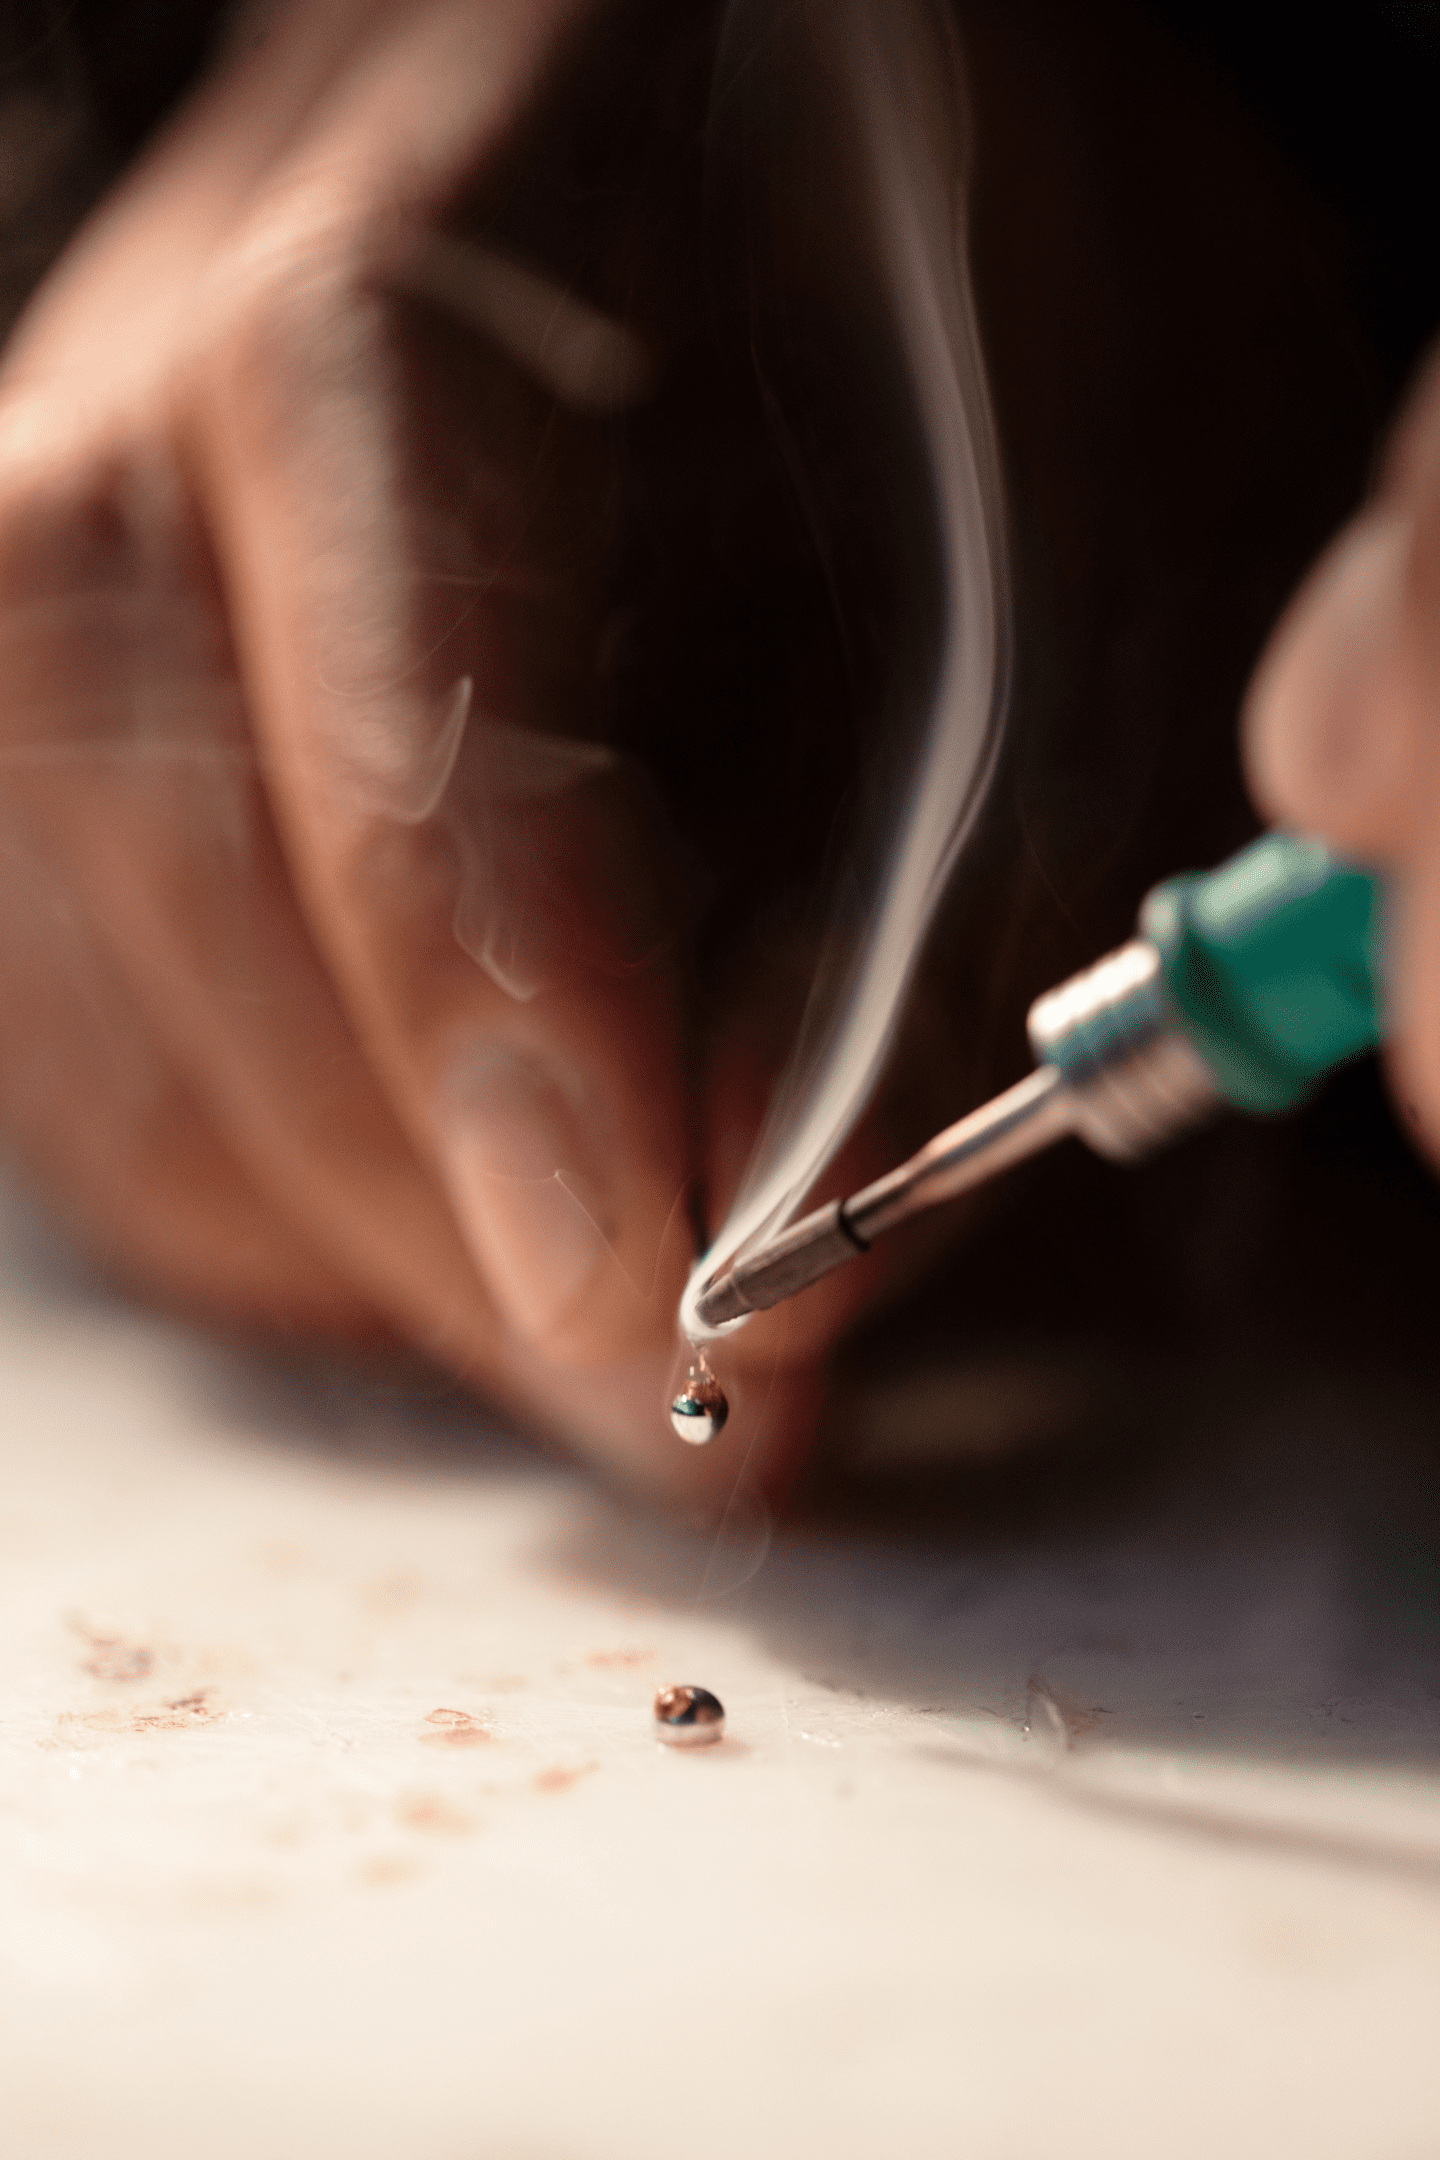
This will be best suited when more heat is required and the soldering is being done at intervals. The soldering gun is also much more effective when you intend to solder the broken wire in intervals because it cools faster.
After the soldering process is complete, cover the exposed wires with some silicone paste to increase protection from the weather.
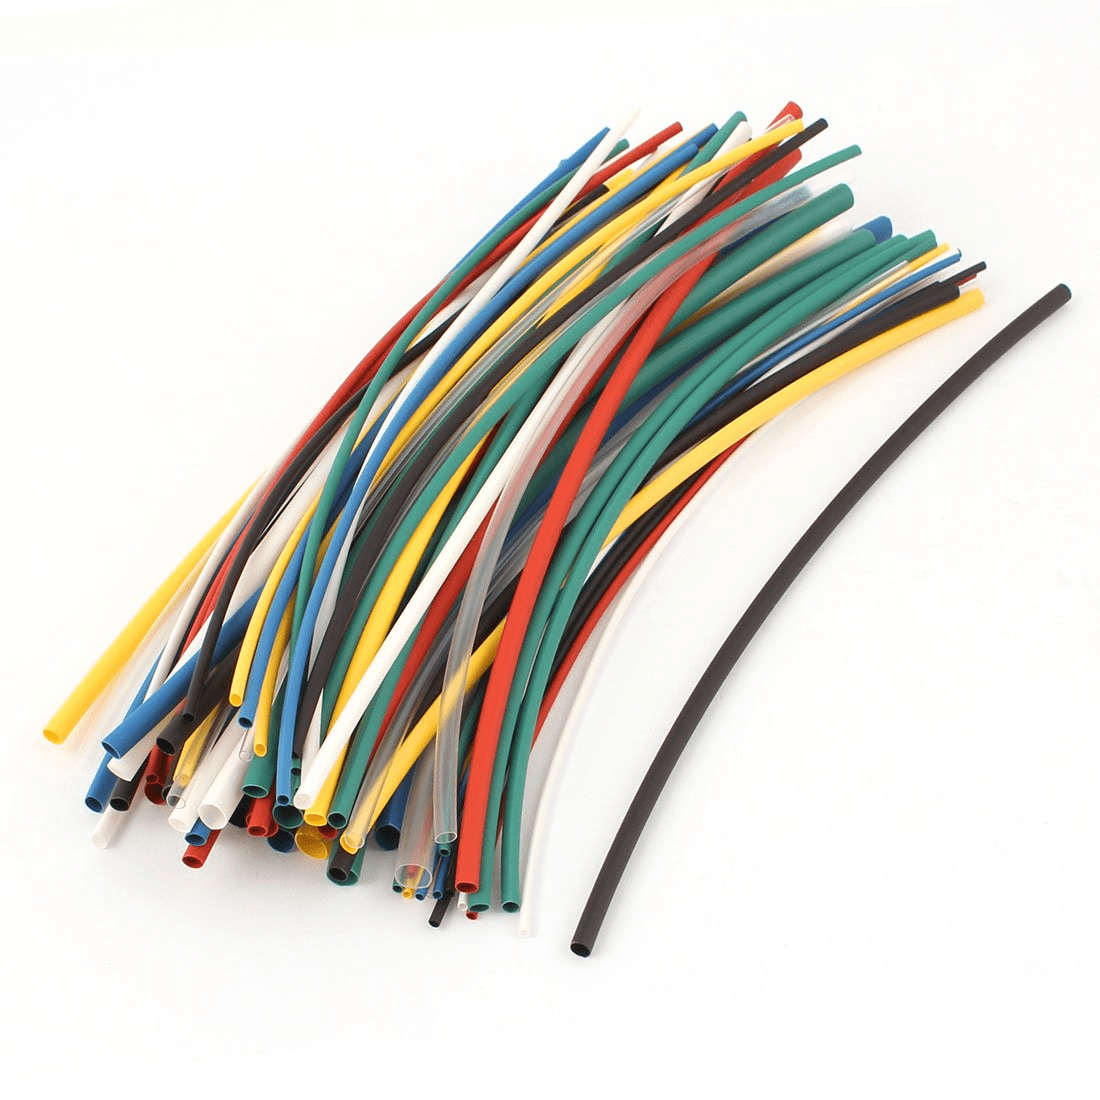
The most effective way to do this is to use heat shrink tubing. This is a plastic tube that is used to insulate and protect wires from friction and harsh weather conditions.
In this step, measure the diameter and length of the broken wire to ascertain how much length and diameter of the heat shrink tube will be necessary.
The tube's length and diameter should be slightly longer and wider than the wire's; such that it will be able to shrink back to the size of the exposed wire once heated.
The tube also has a shrink ratio that will guide you through this.
After you have measured the correct size for the tube, slide it through the wire to the broken part of the tube. Then apply heat back and forth with the help of a heat gun, along the line of the exposed wire to shrink the tube for protection.
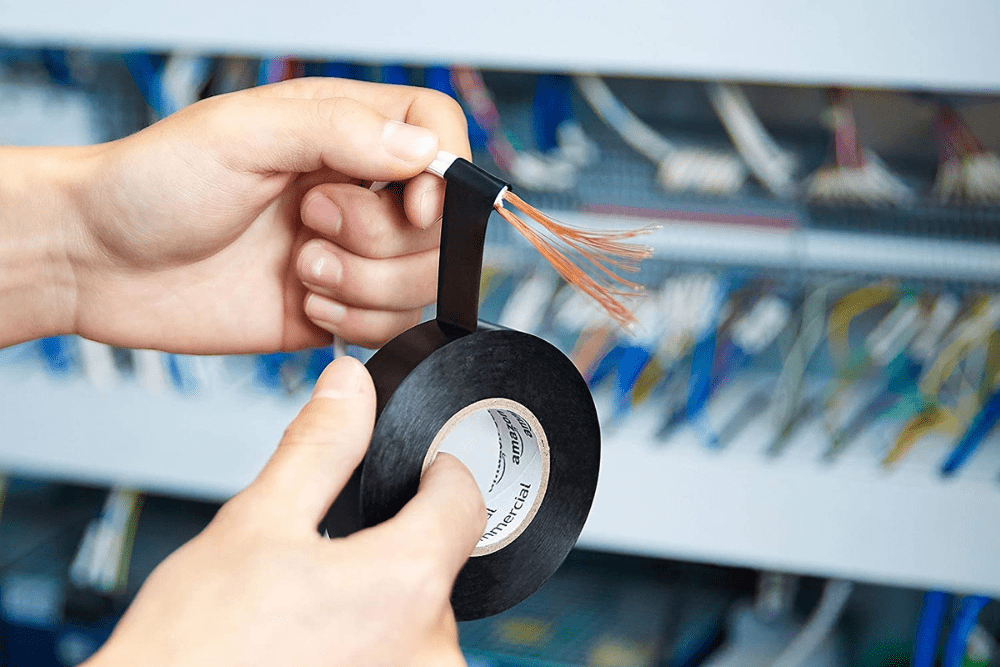
Another home remedy that works but will be less effective is the use of electrical tape. The downside to this is the ability of the electrical tape to lose its adhesiveness over time and expose the wire to harsh environmental conditions.
At this point, if the problem is not damaged solar light wires, then your solar lights might have encountered a loose connection at the terminal on the circuit board.
The board has four pins; a solar panel pin, a battery pin, a ground circuit pin, and a Solar light pin(LED light pin).
Start by setting the multimeter to DC because the current coming out of the c board is DC. As was done with the faulty wire procedure; we start by testing the panel pin.
Point the black probe to the ground pin and the red one to the panel pin. If the reading on the display screen is 0 or 1 then there is a fault at the solar pin.
Check for loose wiring connections that need to be soldered back together. If the reading is 0.5 or a different figure other than 1, the panel pin may not be the problem.
Use the same procedure to test the battery pin. The back probe goes to the ground pin and the red one goes to the battery pin.
If the reading is 0 or 1, the pin may be faulty. This may translate to a faulty battery that needs replacement or fixing.
If the reading is different from 0 and 1, proceed to check the LED light pin.
At the LED light pin, you are checking for the probability of the current not reaching the lights.
The first procedure is to test the pin using a multimeter as in the other cases. The black probe goes to the ground pin while the red probe goes to the light pin.
If the current reads 0 or 1, there is a fault at the light pin that you will need to repair. You should look for damages at the terminal that need a replacement or soldering back together.
Faulty batteries that cannot hold a charge or transfer consistent voltage to the solar lights. A number of manufacturers have recommended Li-ion batteries for durability.
Solar lights that need a replacement. Whether they are garden lights or string lights; it would be best to use LED lights which have proven to be durable over time.
Insufficient charge to the solar panels may be another cause of frequent blackouts. Your panels may not be well exposed to sufficient heat energy or they may not have the capacity to support the entire power system.
You can either relocate the panels to a location with sufficient sunshine or add an additional panel that will support the current one in the power supply.
We have also put together a guide on how to choose the best solar panel for your outdoor lighting.
Based on the identified causes of broken wires:
* Protect the wires from squirrels by ensuring the wiring connection is at a safe distance beyond reach by the squirrels and other animals.
* Insulate and protect your solar wires from exposure to harsh weather conditions. Use durable plastic casing that can withstand sunny and rainy days and offer long-term protection to the wiring components.
* Avoid cable curves. Curved cables increase the risk of broken wires due to the stress exerted on the bends.
* Do not wire cables against metal posts or frames without proper insulation. Metal frames are capable of attracting rust, which eventually transfers to cables; causing faults.
* Routine inspection and maintenance will help you detect and avoid the inconvenience brought by broken wires
* Replace your wires as soon as the lifespan has been exceeded. Do not reuse old wires for new solar light wiring. Frequent breakdowns caused by aged wires become costly over time, making the entire system a liability.
* If unsure of the repair process, contact a certified electrician to help identify and fix the problem to prevent further wiring complications.
From the article, you have understood all the possible causes of your broken solar wires; how to fix them, and the best handling practices for solar wires.
However, you should also note that the first step to avoiding frequent wiring problems is to invest in authentic outdoor solar lighting solutions.
Zhongshan Yuefeng Lighting & Electrical Company is a trusted and certified manufacturer that deals in a variety of long-lasting solar lights.
Our products guarantee service and are customized to a buyer's request. Let us help you choose the best outdoor lighting that meets your needs.
